Table of Contents
- Introduction to SSL and Let’s Encrypt
- Why SSL Matters for SEO and Security
- Prerequisites for Installation
- Step 1: Installing Certbot and the Nginx Plugin
- Step 2: Configuring Nginx Server Blocks
- Step 3: Adjusting the Firewall (UFW)
- Step 4: Obtaining the SSL Certificate
- Step 5: Verifying Auto-Renewal
- Advanced Security Hardening (HSTS & DH Groups)
- Troubleshooting Common Issues
- Conclusion and Next Steps
Introduction to SSL and Let’s Encrypt
Securing your website is no longer a luxury reserved for e-commerce giants or financial institutions; it is a fundamental requirement for every site on the internet. Whether you are running a personal blog or a corporate portal, this tutorial setup ssl certificate let’s encrypt nginx ubuntu guide will show you exactly how to protect your users’ data and improve your site’s credibility.
In the past, obtaining an SSL (Secure Sockets Layer) certificate was a cumbersome and often expensive process. You had to generate a Certificate Signing Request (CSR), pay a Certificate Authority (CA), and manually renew it every year. However, Let’s Encrypt revolutionized this by providing free, automated, and open certificates. When combined with the high-performance Nginx web server on an Ubuntu environment, you create a robust, secure, and fast web infrastructure.
This comprehensive guide is designed to take you from a standard HTTP connection to a fully encrypted HTTPS setup. We will cover everything from initial package installation to advanced security hardening, ensuring that your server meets modern security standards.
Why SSL Matters for SEO and Security
Before we dive into the technical steps, it is essential to understand why you are performing this tutorial setup ssl certificate let’s encrypt nginx ubuntu. Security is the primary driver, but the benefits extend far beyond data encryption.
“HTTPS is a requirement for many new browser features, particularly those required for progressive web apps and modern web APIs. It is also a significant ranking factor for Google Search.”
From an SEO perspective, Google officially announced HTTPS as a ranking signal back in 2014. Sites without SSL are often flagged as “Not Secure” in browsers like Chrome and Firefox, which can lead to high bounce rates and a loss of user trust. Statistics show that over 80% of users will abandon a site if they see a security warning.
Furthermore, SSL certificates enable HTTP/2, which significantly improves website loading speeds. Without encryption, browsers will fall back to the older, slower HTTP/1.1 protocol. Therefore, setting up SSL is not just about security; it is about performance and visibility.
Prerequisites for Installation
To successfully complete this tutorial setup ssl certificate let’s encrypt nginx ubuntu, you need to ensure your environment is ready. Failing to meet these prerequisites is the most common cause of installation errors.
- An Ubuntu Server: This guide is specifically written for Ubuntu 20.04, 22.04, or 24.04 LTS. Ensure you have
sudoprivileges. - Nginx Installed: Your web server should be installed and running. If it isn’t, you can install it using
sudo apt install nginx. - A Registered Domain Name: You cannot get a Let’s Encrypt certificate for an IP address. You must own a domain (e.g., example.com).
- DNS Records: Ensure your domain’s “A Record” points to your Ubuntu server’s public IP address. Also, consider a “CNAME” or “A Record” for the www subdomain.
Verify your DNS propagation before proceeding. You can use tools like dig or online DNS checkers to ensure your domain is correctly resolving to your server. If the DNS hasn’t propagated, Let’s Encrypt will be unable to verify ownership of the domain.
Step 1: Installing Certbot and the Nginx Plugin
The first step in our tutorial setup ssl certificate let’s encrypt nginx ubuntu is installing Certbot. Certbot is a highly efficient, automated tool designed to fetch and deploy SSL certificates from Let’s Encrypt.
While Ubuntu’s default repositories contain Certbot, they are often outdated. To ensure you have the latest features and security patches, it is recommended to use the Snap package manager, which comes pre-installed on modern Ubuntu versions.
First, update your local package index to ensure everything is current:
sudo apt update
Next, remove any existing Certbot installations to avoid conflicts:
sudo apt remove certbot
Now, install Certbot using Snap:
sudo snap install --classic certbot
Finally, create a symbolic link to ensure the certbot command can be run from any directory:
sudo ln -s /snap/bin/certbot /usr/bin/certbot
This installation method ensures that your Certbot client stays updated automatically, which is crucial for maintaining compatibility with Let’s Encrypt’s evolving API.
Step 2: Configuring Nginx Server Blocks
Certbot needs to find the correct server block in your Nginx configuration to automatically configure SSL. If you are using a fresh Nginx installation, you might still be using the default configuration file.
For this tutorial setup ssl certificate let’s encrypt nginx ubuntu, we recommend creating a dedicated configuration file for your domain. Open a new file in /etc/nginx/sites-available/:
sudo nano /etc/nginx/sites-available/your_domain
Paste the following basic configuration, replacing your_domain with your actual domain name:
server {
    listen 80;
    listen [::]:80;

    root /var/www/your_domain/html;
    index index.html index.htm index.nginx-debian.html;

    server_name your_domain www.your_domain;

    location / {
        try_files $uri $uri/ =404;
    }
}
Save and close the file. Next, enable this configuration by creating a link to the sites-enabled directory:
sudo ln -s /etc/nginx/sites-available/your_domain /etc/nginx/sites-enabled/
Test your Nginx configuration for syntax errors:
sudo nginx -t
If the test is successful, reload Nginx to apply the changes:
sudo systemctl reload nginx
Step 3: Adjusting the Firewall (UFW)
Ubuntu servers typically use UFW (Uncomplicated Firewall). By default, it might only allow traffic on port 80 (HTTP). For this tutorial setup ssl certificate let’s encrypt nginx ubuntu to work, we must open port 443 (HTTPS).
Check the current status of your firewall:
sudo ufw status
You should see that ‘Nginx HTTP’ is allowed. To allow both HTTP and HTTPS, use the ‘Nginx Full’ profile:
sudo ufw allow 'Nginx Full'
sudo ufw delete allow 'Nginx HTTP'
This ensures your server is ready to receive encrypted traffic. Verifying firewall settings early prevents the “Connection Timed Out” errors that many users encounter during the certificate validation phase.
Step 4: Obtaining the SSL Certificate
Now we reach the core of the tutorial setup ssl certificate let’s encrypt nginx ubuntu. We will use the Certbot Nginx plugin to request and install the certificate automatically.
Run the following command:
sudo certbot --nginx -d your_domain -d www.your_domain
Here is what happens during this process:
- Verification: Certbot creates a temporary file in your web root to prove you control the domain.
- Generation: Once verified, Let’s Encrypt issues the SSL certificate.
- Configuration: Certbot automatically modifies your Nginx configuration to use the new certificate.
- Redirection: It will ask if you want to redirect all HTTP traffic to HTTPS. It is highly recommended to choose ‘2’ (Redirect) for maximum security.
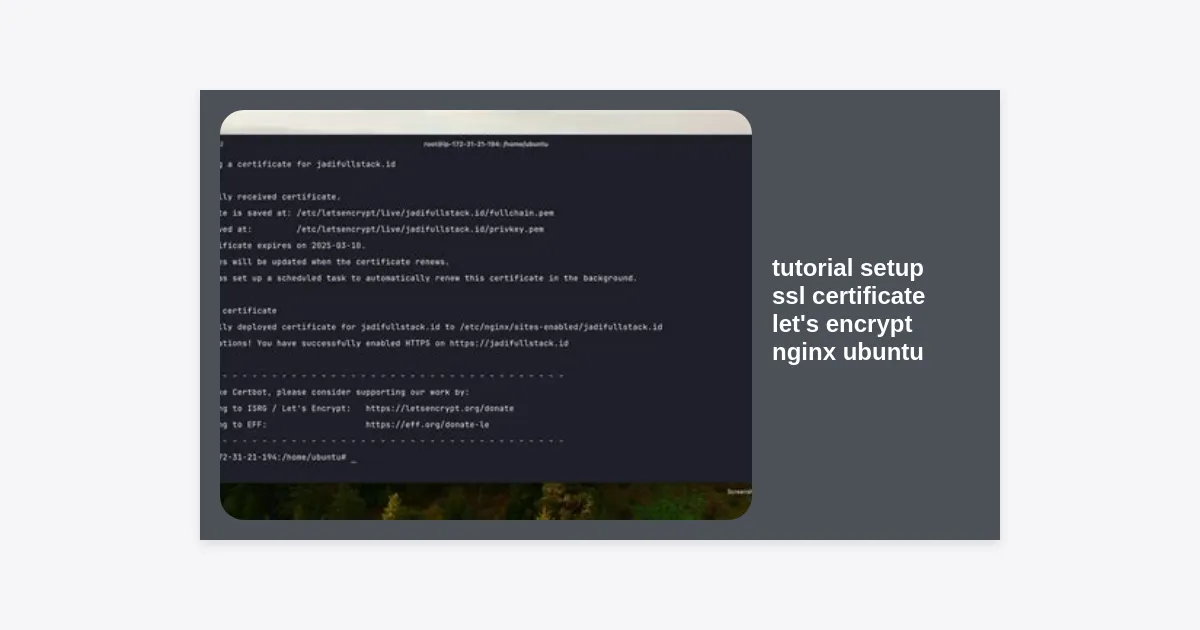
Once finished, you should see a message stating: “Congratulations! You have successfully enabled https://your_domain”. Your site is now secure!
Step 5: Verifying Auto-Renewal
Let’s Encrypt certificates are only valid for 90 days. This is a security feature, not a limitation. The goal is to automate the renewal process so you never have to worry about an expired certificate.
When you installed Certbot via Snap, it automatically added a systemd timer that runs twice a day to check for certificates nearing expiration. However, it is vital to test this process as part of our tutorial setup ssl certificate let’s encrypt nginx ubuntu guide.
Run a dry run to ensure the renewal script works perfectly:
sudo certbot renew --dry-run
If you see no errors, your certificates will renew automatically. This automation is what makes Let’s Encrypt the preferred choice for modern system administrators.
Advanced Security Hardening (HSTS & DH Groups)
To achieve an “A+” rating on security scanners like Qualys SSL Labs, you should go beyond the basic tutorial setup ssl certificate let’s encrypt nginx ubuntu steps. We can harden Nginx by implementing HSTS (HTTP Strict Transport Security) and generating a unique Diffie-Hellman (DH) group.
Implementing HSTS
HSTS tells browsers that they should only communicate with your server using HTTPS, preventing man-in-the-middle attacks. Add the following line to your Nginx configuration within the SSL server block:
add_header Strict-Transport-Security "max-age=31536000; includeSubDomains" always;
Generating Strong DH Groups
By default, many servers use a weak 1024-bit DH group. You can generate a stronger 2048-bit group to improve key exchange security:
sudo openssl dhparam -out /etc/ssl/certs/dhparam.pem 2048
Then, point Nginx to this file in your configuration:
ssl_dhparam /etc/ssl/certs/dhparam.pem;
Troubleshooting Common Issues
Even with a detailed tutorial setup ssl certificate let’s encrypt nginx ubuntu, you might encounter issues. Here are the most common solutions:
| Issue | Possible Cause | Solution |
|---|---|---|
| Connection Refused | Firewall blocking port 443 | Run sudo ufw allow 'Nginx Full' |
| DNS Problem: NXDOMAIN | Domain not pointing to IP | Check your A records in your DNS provider panel. |
| Nginx fails to start | Syntax error in config | Run sudo nginx -t to find the error. |
| Certbot Plugin Error | Missing python3-certbot-nginx | Install it via sudo apt install python3-certbot-nginx |
Conclusion and Next Steps
Congratulations! You have successfully completed the tutorial setup ssl certificate let’s encrypt nginx ubuntu. Your website is now encrypted, faster, and more trustworthy in the eyes of both users and search engines.
By following this guide, you have not only secured your data but also established a foundation for better SEO rankings and modern web performance. Remember that security is an ongoing process. Regularly update your Ubuntu server (sudo apt upgrade) and keep an eye on your Nginx logs for any suspicious activity.
Key Takeaways:
- Always use HTTPS to protect user privacy and boost SEO.
- Let’s Encrypt provides free, automated certificates that are easy to manage.
- Certbot is the industry-standard tool for automating SSL on Ubuntu.
- Don’t forget to verify your auto-renewal to avoid downtime.
If you found this guide helpful, consider exploring more about Nginx performance tuning or setting up a Web Application Firewall (WAF) to further protect your server infrastructure. Secure browsing!