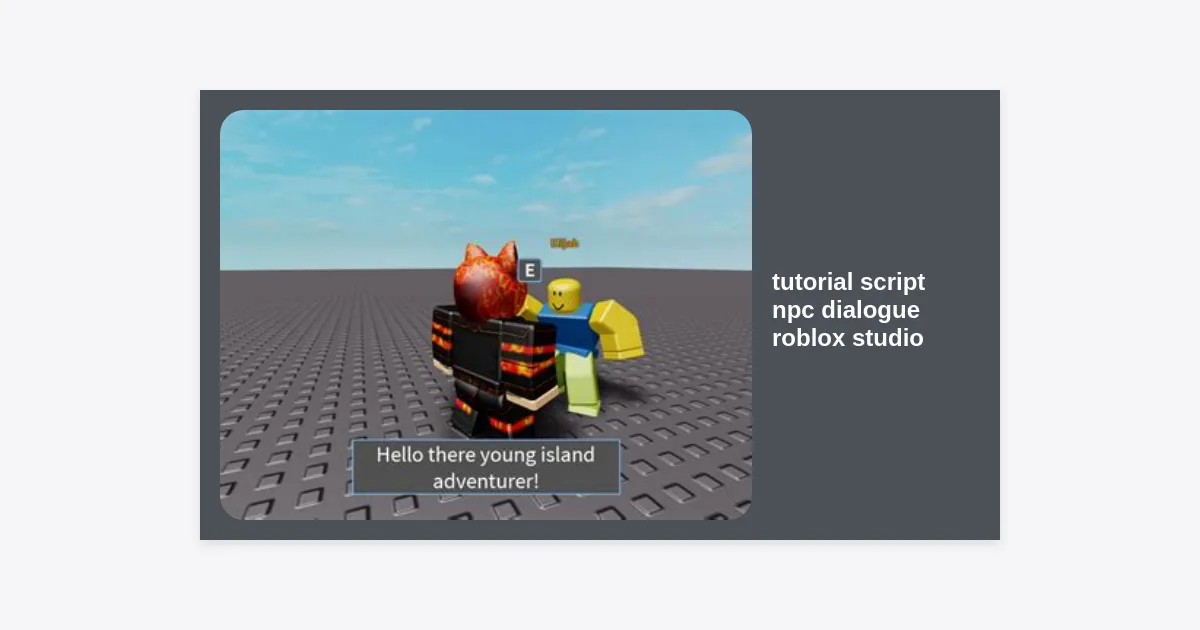
Have you ever entered a Roblox game and felt the world was empty, despite being filled with detailed models? The difference between a static environment and a living world often boils down to interaction. In this comprehensive tutorial script npc dialogue roblox studio guide, we will bridge that gap. Whether you are building a complex RPG or a simple hangout spot, knowing how to make your characters talk is a fundamental skill that elevates your game from a hobby project to a professional experience.
Creating a dialogue system can range from using Roblox’s built-in tools to scripting a fully custom, branching narrative engine. This article will walk you through every step of the process, ensuring you have the technical knowledge and the creative insight to build NPCs that players actually want to talk to. We will explore Lua scripting, UI design, and the logic behind meaningful player choices.
- Understanding NPC Dialogue in Roblox Studio
- Method 1: Using the Native Dialog Object (The Fast Way)
- Method 2: Scripting a Custom Dialogue System (The Pro Way)
- Designing a Professional Dialogue UI
- Implementing the Typewriter Animation Effect
- Advanced Branching: Choices and Consequences
- Best Practices for NPC Interaction
- Troubleshooting Common Scripting Errors
- Conclusion and Next Steps
Understanding NPC Dialogue in Roblox Studio
Before diving into the code, it is important to understand what makes a dialogue system effective. In Roblox, an NPC (Non-Player Character) is typically a Model containing a Humanoid. To make this model “talk,” we need a trigger (like a ProximityPrompt or a mouse click) and a way to display text (either through chat bubbles or a ScreenGui).
Statistics show that games with high player retention often feature strong narrative elements. By mastering this tutorial script npc dialogue roblox studio, you are not just coding; you are storytelling. You are giving players a reason to explore your world and interact with its inhabitants.
Method 1: Using the Native Dialog Object (The Fast Way)
Roblox provides a built-in Dialog object that requires zero coding to get started. This is perfect for beginners or for simple NPCs that only need to provide basic information.
How to Set Up the Dialog Object
- Open Roblox Studio and select your NPC model.
- Inside the
Headpart of the NPC, click the “+” button and insert a Dialog object. - In the Properties window, set the
InitialPrompt(what the NPC says first). - To add player responses, right-click the Dialog object and insert DialogChoice objects.
- Set the
UserPrompt(what the player says) and theResponseDialog(what the NPC says back).
While easy, the native system is limited in terms of visual customization and complex logic. For a truly unique game, you will want to move toward custom scripting.
Method 2: Scripting a Custom Dialogue System (The Pro Way)
A custom system allows for unique UI, sound effects, and complex logic like quest triggers. This tutorial script npc dialogue roblox studio will now focus on the scripting architecture required for a professional-grade system.
Step 1: The Trigger
We will use a ProximityPrompt because it works seamlessly on both PC and mobile. Insert a ProximityPrompt into the NPC’s HumanoidRootPart.
Step 2: The Scripting Architecture
We need a ModuleScript to store our dialogue data. This keeps our code clean and organized. Create a ModuleScript in ReplicatedStorage named DialogueData.
local DialogueData = {}

DialogueData.NPCs = {
    ["OldMan"] = {
        ["Introduction"] = {
            Text = "Hello there, traveler! Have you seen my lost cat?",
            Responses = {
                {Answer = "I'll help you!", NextNode = "AcceptQuest"},
                {Answer = "Not today.", NextNode = "Goodbye"}
            }
        },
        ["AcceptQuest"] = {
            Text = "Oh, thank you! Please check the forest.",
            Responses = {}
        },
        ["Goodbye"] = {
            Text = "Safe travels then.",
            Responses = {}
        }
    }
}

return DialogueData
Designing a Professional Dialogue UI
The visual presentation of your dialogue is just as important as the words. A standard dialogue UI consists of a Frame at the bottom of the screen, a TextLabel for the NPC’s name, and another TextLabel for the dialogue content.
- ScreenGui: Set
ResetOnSpawnto false to prevent the UI from flickering when the player dies. - Frame: Use a semi-transparent background with rounded corners (UICorner).
- Text Scalability: Use
TextScaledorUITextSizeConstraintto ensure readability across different devices.
Remember, the goal of this tutorial script npc dialogue roblox studio is to create a seamless user experience. Avoid using overly bright colors that might distract the player from the text.
Implementing the Typewriter Animation Effect
To make your NPC feel more dynamic, you can implement a “typewriter” effect where text appears character by character. This is a staple in high-quality RPGs.
Add this function to your LocalScript that handles the UI:
local function typeWrite(guiLabel, text, delayTime)
    guiLabel.Text = ""
    for i = 1, #text do
        guiLabel.Text = string.sub(text, 1, i)
        -- Optional: Play a short blip sound here
        task.wait(delayTime or 0.05)
    end
end
By using string.sub, we progressively reveal the string, creating an engaging animation that keeps the player’s eyes glued to the dialogue box.
Advanced Branching: Choices and Consequences
A great tutorial script npc dialogue roblox studio shouldn’t just cover static text. Branching paths allow players to influence the game world. To handle this, your LocalScript needs to listen for button clicks on the response options and fetch the NextNode from your DialogueData module.
“The illusion of choice is powerful, but actual choice is transformative. When an NPC remembers a player’s previous answer, the immersion level triples.”
To track choices, you can use Attributes on the player object or a folder in ReplicatedStorage. For example, if a player chooses to be rude to an NPC, you can set an attribute Reputation to -1, which changes how other NPCs react later.
Best Practices for NPC Interaction
When implementing your tutorial script npc dialogue roblox studio, keep these industry-standard tips in mind:
- Keep it Concise: Players often skim text. Limit dialogue blocks to 2-3 sentences.
- Camera Manipulation: When dialogue starts, use
TweenServiceto move the player’s camera to a fixed position looking at the NPC. - Input Buffering: Prevent players from accidentally skipping dialogue by adding a tiny cooldown (0.2 seconds) before they can click “Next.”
- Localization: If your game grows, use Roblox’s LocalizationService to translate your dialogue into different languages.
Troubleshooting Common Scripting Errors
Even expert developers run into issues. Here are common pitfalls when following a tutorial script npc dialogue roblox studio:
1. RemoteEvent Latency: If you use RemoteEvents to trigger dialogue, ensure you aren’t sending too much data. Only send the NPC name; let the client fetch the text from the ModuleScript.
2. UI Overlap: Ensure your Dialogue UI has a higher DisplayOrder than other HUD elements like inventory or maps.
3. Memory Leaks: Always disconnect your .Activated connections for response buttons when the dialogue ends to prevent memory build-up.
Conclusion and Next Steps
In this tutorial script npc dialogue roblox studio, we have covered everything from the basic native tools to advanced scripted systems with typewriter effects and branching logic. Adding life to your NPCs is one of the most rewarding parts of game development. It transforms a collection of parts into a living, breathing story.
Key Takeaways:
- Use ProximityPrompts for a modern interaction feel.
- Store your text in ModuleScripts for easy management.
- Enhance immersion with Typewriter effects and camera angles.
- Test your UI on multiple screen sizes to ensure accessibility.
Now it’s your turn! Take the code snippets provided, customize the UI to match your game’s aesthetic, and start building the next great Roblox adventure. Happy scripting!